API Integration: A Step-by-Step Guide for AI Apps
API integration connects your application to a model service, but a successful first request is only the beginning. A production integration also needs protected credentials, predictable data handling, bounded errors, and useful monitoring. This step-by-step guide describes a provider-neutral approach. Adapt endpoint names and fields to the official documentation for the service you choose rather than copying an example from another provider unchanged.
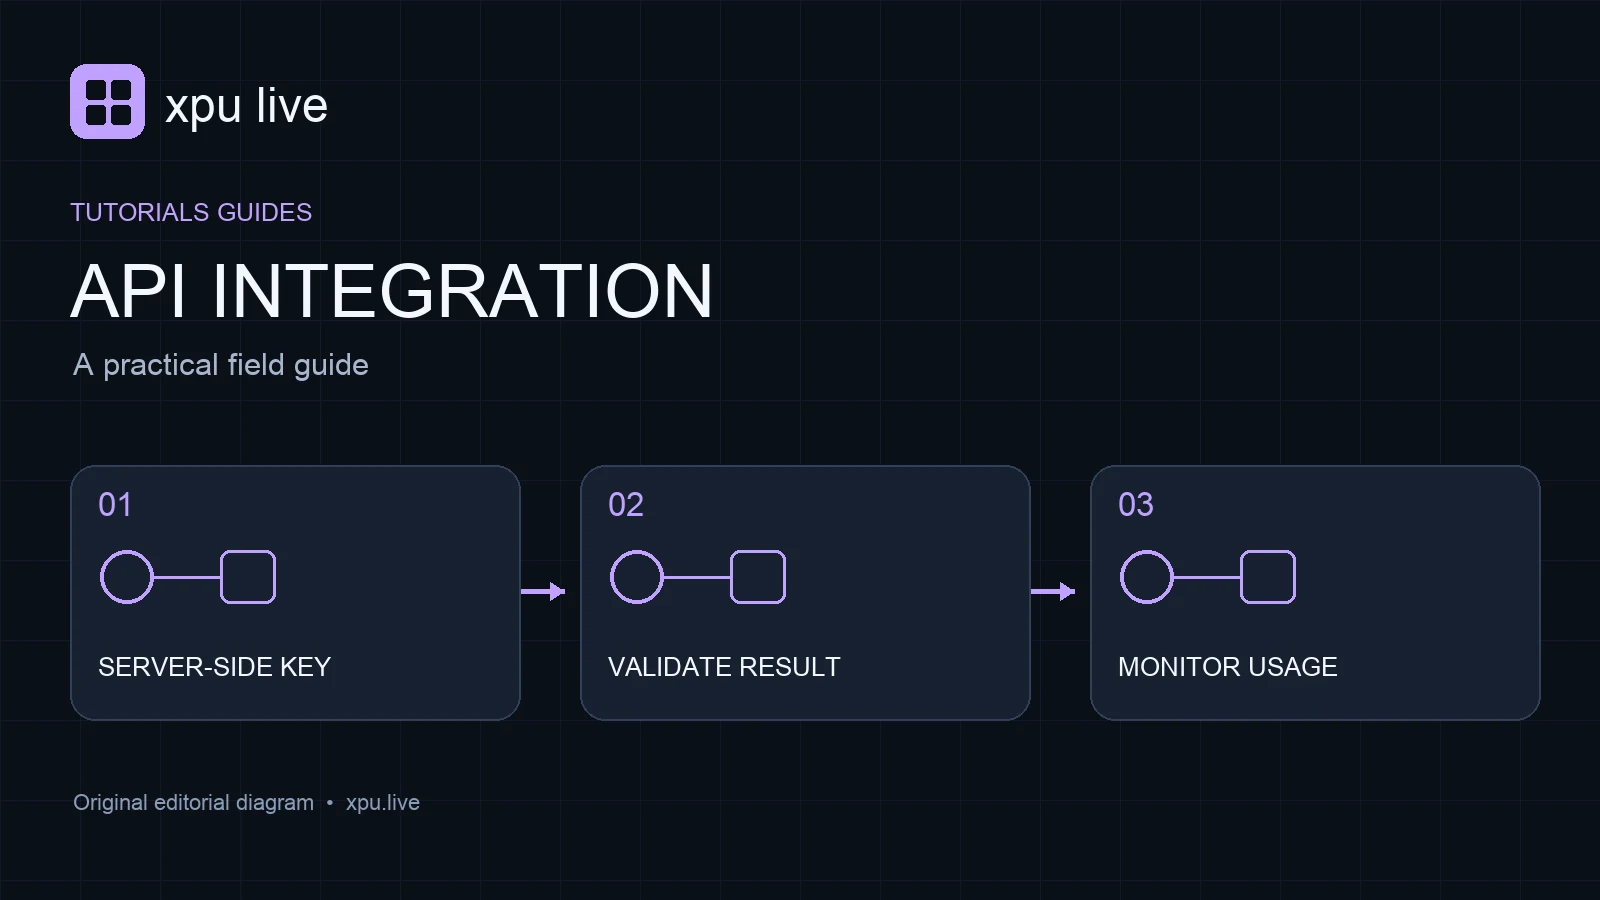
Step one: define your API integration workflow
Choose a narrow task with a clear result. For example, an application could summarize a short public document into a fixed set of fields. Specify the allowed input size, required output fields, and how you will decide whether the answer is usable. Avoid adding search, multiple models, and automatic actions to the first version unless the task requires them.
Prepare several examples before writing the request code. Include a normal input, an empty input, an unusually long input, and an input that does not contain the requested information. These cases help define application behavior independently of a provider. They also give you a repeatable test set when the model or API changes later.
Step two: secure API integration credentials
Create or select the intended project in the provider account and obtain the existing API credential through its normal setup process. Store that credential in an environment setting or managed secret store. Never embed it in browser JavaScript, a public repository, an article example, or a mobile application package that users can inspect.
The browser should call your application server, which validates the request and talks to the provider. This separation also gives you a place to enforce usage limits and record costs. Keep development and production credentials separate where the provider supports it. Check your logs for accidental secret exposure before deploying, because debugging output is a common source of credential leaks.
Step three: build a minimal provider adapter
Put authentication, endpoint selection, request fields, and response parsing in a small adapter. Give the rest of the application a stable interface such as generateSummary with an input object and a validated result. This structure keeps provider-specific details from appearing throughout the product and makes later migration work easier to review.
Use the official SDK or documented HTTP interface. Pin the dependency version used in your deployment and record the model identifier. Set a maximum input size and an output budget. API integration becomes more predictable when the request explicitly includes the settings your application depends on rather than relying on defaults that may change independently.
Step four: validate API integration results
Validate the user’s input before sending it upstream. Reject unsupported formats and sizes with a useful message. If the task accepts files, check the allowed type and processing path instead of assuming a filename proves the content is safe or compatible. These checks prevent avoidable provider errors and reduce unnecessary spending.
Validate the returned result as well. Check required fields, types, and any task-specific constraints. A syntactically valid response can still contain an incorrect date, unsupported claim, or incomplete record. Handle missing information explicitly. Do not substitute a confident-looking default that the source does not justify. Keep a distinction between provider success and an answer your application can actually use.
Step five: implement bounded failure handling
Set a request timeout and define which failures can be retried. Authentication and malformed-request errors usually need correction rather than repetition. Some transient failures may support a limited retry with backoff. Use the provider’s documented status codes and response fields to choose the policy rather than guessing from a generic error string.
The Claude API error guide provides an example of structured error categories and diagnostic request identifiers. Apply the equivalent guidance from your chosen provider. After the maximum attempts, stop and show a clear failure state. If the request can produce an external action, check the provider’s duplicate-prevention mechanism before repeating it.
Step six: respect rate limits and budgets
Rate limits and billing limits solve different problems. Your project might afford more work than its throughput allowance permits, or it might exhaust a spending budget without hitting a request limit. Add controls for both. Bound the queue size, concurrent requests, input length, and output size according to your application’s needs.
The Gemini API rate-limit documentation explains several quota dimensions that developers need to consider. Record the limits applicable to your account and model. Then test a controlled burst of requests. A good API integration delays or rejects excess work predictably instead of sending every request immediately and relying on upstream errors to control traffic.
Step seven: decide whether to stream
Streaming can improve the experience for long answers by showing output before the entire generation finishes. It also introduces partial results, disconnects, and completion signals that your application must handle. Do not mark a task complete merely because the first event arrived. Confirm the final response state and validate the assembled output.
Use streaming when incremental text is useful to the user. A background job that needs a complete structured object may be simpler without it. Test a connection interrupted midway and confirm that the interface explains the incomplete result. Also define what happens when the user cancels. The right behavior depends on the workflow, not on whether streaming looks more modern in a demonstration.
Step eight: monitor your API integration
Record the provider, model, request identifier, duration, status, and usage information the service returns. Track validated outcomes separately from raw HTTP success. This lets you identify a model that responds successfully but increasingly produces unusable outputs. Avoid logging full private inputs by default; collect only the diagnostic content needed for the application.
Review a small monitoring dashboard after deployment. Look at failures, latency, queue depth, and estimated cost together. Compare those numbers with the limits and budget you set earlier. The API updates guide describes how to preserve this information during a migration. Monitoring makes API integration a maintained service rather than an abandoned proof of concept.
Before you launch
Run your example set, confirm that secrets stay on the server, and inspect the timeout and retry behavior. Check spending controls and user-facing error messages. Save the dependency and model versions with the deployment. Finally, assign an owner for changelog review. These checks give the next developer enough context to operate the integration safely.
Frequently asked questions
Can a static website call a paid model API directly? It should not expose a secret key in client code. Use a server-side route or service with appropriate access and usage controls.
Should every failed request be retried? No. Follow documented error behavior and keep attempts bounded. Repeated invalid requests do not fix the underlying problem.
When is the integration ready? When it passes representative tasks and failure cases, stays within its budget, and produces useful monitoring information under realistic traffic.